
To see the beginning of this process, click on the following – Part 1, Part 2, Part 3, Part 4.
The next part is the final part of Step 1. (Publishing on Kindle is a two-step process)
#6. Upload Your Book File
At this point in time, unless you are setting this up for pre-orders, you should have a completed, properly edited, proofread and formatted manuscript file to upload. If you haven’t then you can always save what you have done so far, and come back to it when your file is ready. I will go through how to format for Kindle in another post.

The first thing you want to do, is to choose whether or not to turn on DRM. There’s been a lot of debate over DRM, which stands for Digital Rights Management. The idea behind it is to stop the book from being pirated, by making it difficult to copy. But here’s the thing – people who pirate stuff can strip DRM from files easily. But people who have purchased the book properly, but want to move it to another device, will have trouble. So having DRM on your book does not really protect it, it just annoys genuine readers.
My advice? Don’t switch it on. As someone wise once said (cannot remember who they were now) an Indie authors biggest problem is not piracy, it’s obscurity.
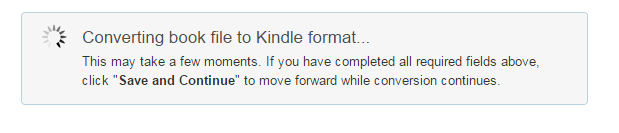
So, click on ‘Browse‘ to find your file on your computer and upload it. You’ll see this:
Then hopefully you will see this:
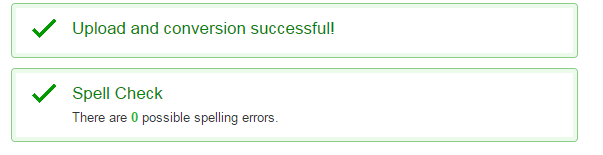
If there are any spelling errors listed, you can see what they are, then go back to your original file, make changes, then re-upload the file again.
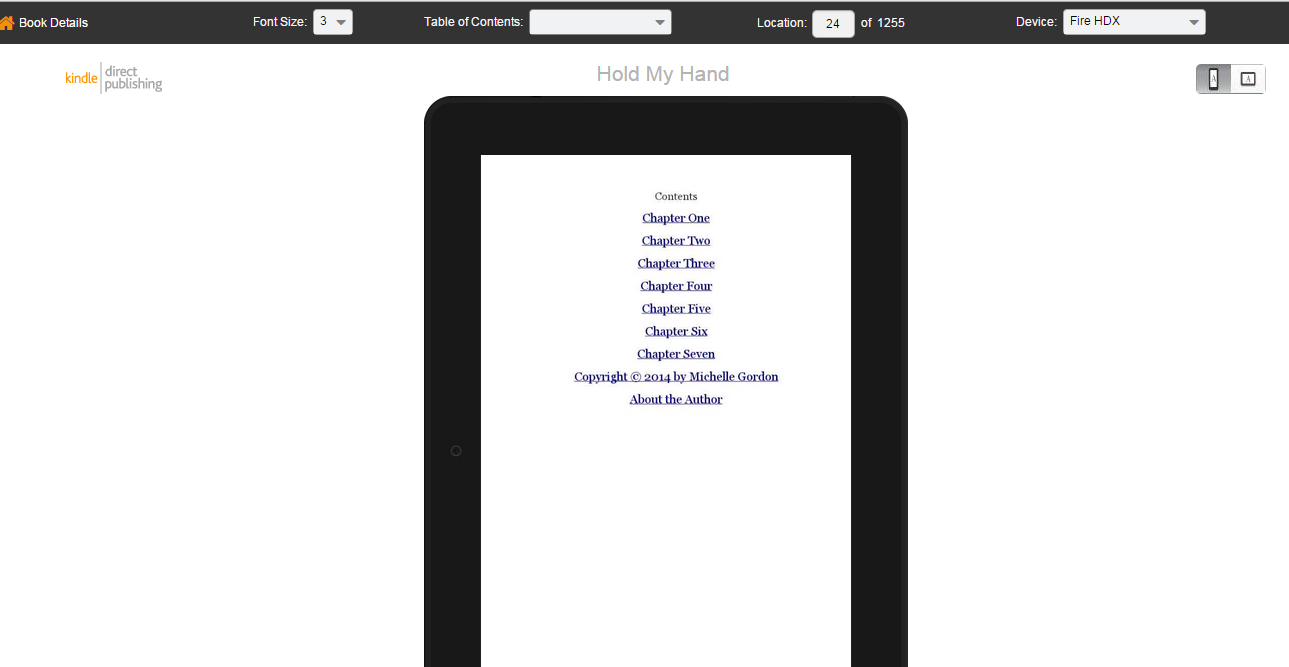
Then you will have the opportunity to review your book, to see what it will look like.
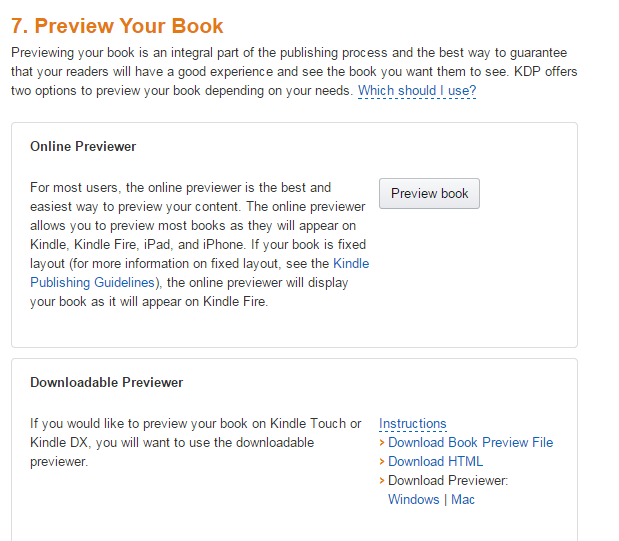
Personally, I’ve never had much luck with the downloadable previewer, so I always preview online, which looks like this:
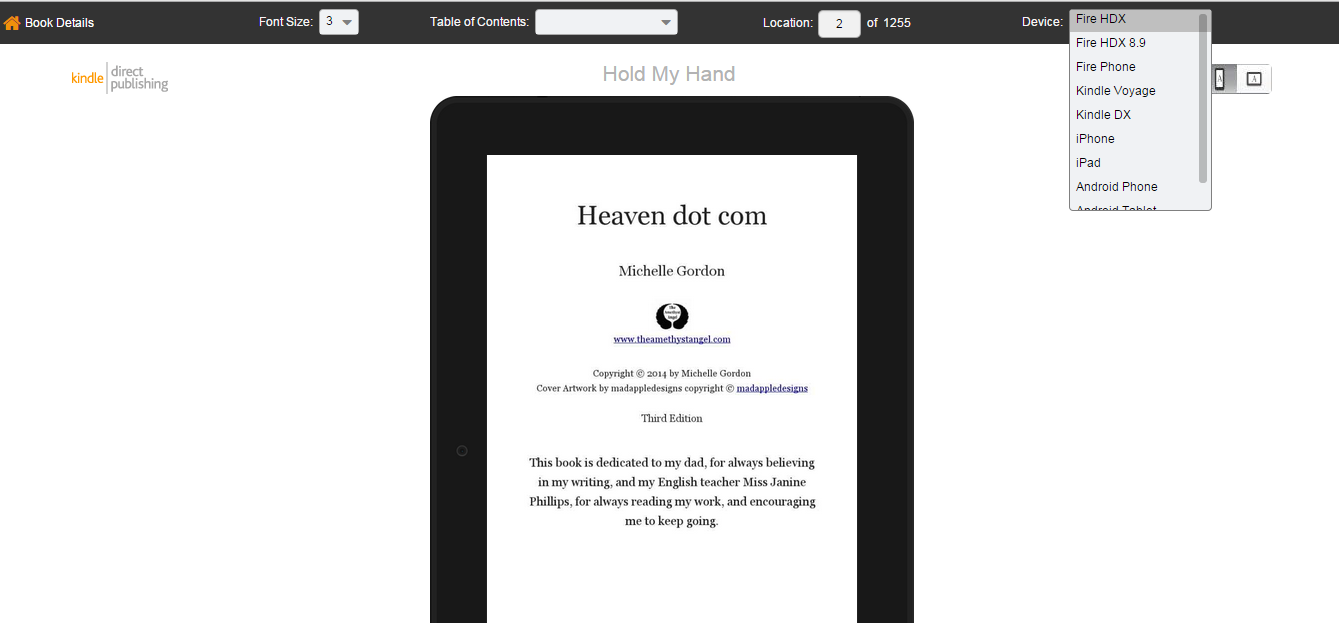
You can see what your book will look like on different devices, and it’s a good idea to look though, and check things like your table of contents, by clicking on the chapter heading and seeing if it takes you to the right place. (You will have created a clickable table of contents in the formatting stage)
When you have looked at it on different devices, and you have tried the links to make sure they work, you can click on the ‘Book Details’ button to go back.

Then, if you are happy with it, click ‘save and continue’ at the bottom of the page. If you need to make changes, simply change your original file, then re-upload it, by clicking on the ‘Browse‘ button again.
Otherwise, by clicking on ‘save and continue’ you will proceed to Step 2 of the process, which I will go through in tomorrow’s post.
Disclaimer: All views, ideas and tips presented on this website are my own, based on my own experience and the experience of my clients. It is by no means the only way to do it, or the right way to do it, but it is the way that works for me. Please take what helps you and makes sense to you, and don’t worry about the rest for now. Please know that I take no responsibility for anything that happens as a result of you following my advice. I have created this blog as a resource for Indie Authors to help them make the publishing journey a little easier. I am not affiliated with any of the companies I mention, other than the fact that I use their services myself.

2 thoughts on “Self-Publishing on Kindle – Part 5”